This post may have affiliate links. If you click one of these links and make a purchase, we will be paid a commission at no additional cost to you.
Not only do I love gardening, but I also enjoy canning the excess from my garden as well as stocking up and canning deals I find throughout the gardening season.
It’s a great way to preserve your garden’s bounty and ensure you make the most of the gardening season. And while canning may seem intimidating to a beginner, it’s actually a really easy way to preserve your food.
If you are planning to can this year, you want to make sure you have the home canning equipment you need to can all your food safely.
Here is a canning supplies list of the must-have equipment.
You’ll be preserving your fruits and vegetables before you know it.
Must-Have Canning Supplies List
Canning Jars

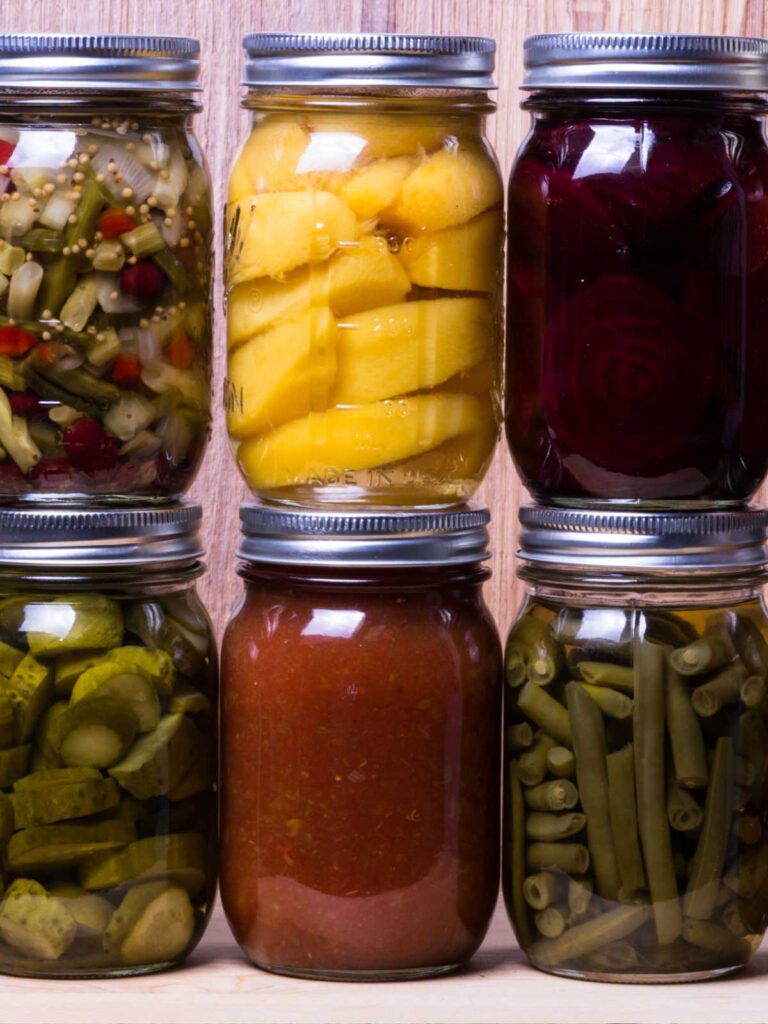
The first essential canning item you’ll need is some canning jars. Before we get into canning jars, please note that there has been a shortage on canning jars, so currently they are hard to come by.
These glass jars come with lids that seal tightly and metal rims that secure the lids onto the jars.
When looking at canning jars, it can be easy to get overwhelmed and not know which canning jar sizes you need or want to have on hand.
Canning jars typically come in four sizes – quart (four cups), pint (two cups), half pint (one cup), and four-ounce (half cup).
The canning jar size you’ll need for canning and how many of each will depend on the item you’re preserving and how much you intend to use at one time.
Smaller jars are great for canning jams and jellies, medium sized jars are perfect for pickles, salsa, and pie filling, and large canning jars are great for canned fruit and vegetables.
Canning jars also come with different sized openings on the top.
Wide mouth jars work well when canning larger items, like full pieces of fruit because it’s easier to fit the item into the jar.
Traditional jars have a smaller opening, which works well for sauces and smaller vegetables.
In all honesty, I have started using only wide mouth jars, except for some of the smallest jars that I sometimes use for jams and my husband uses for hot sauce. I find the wide mouth jars are much easier for me to clean.
Canning Jar Lids
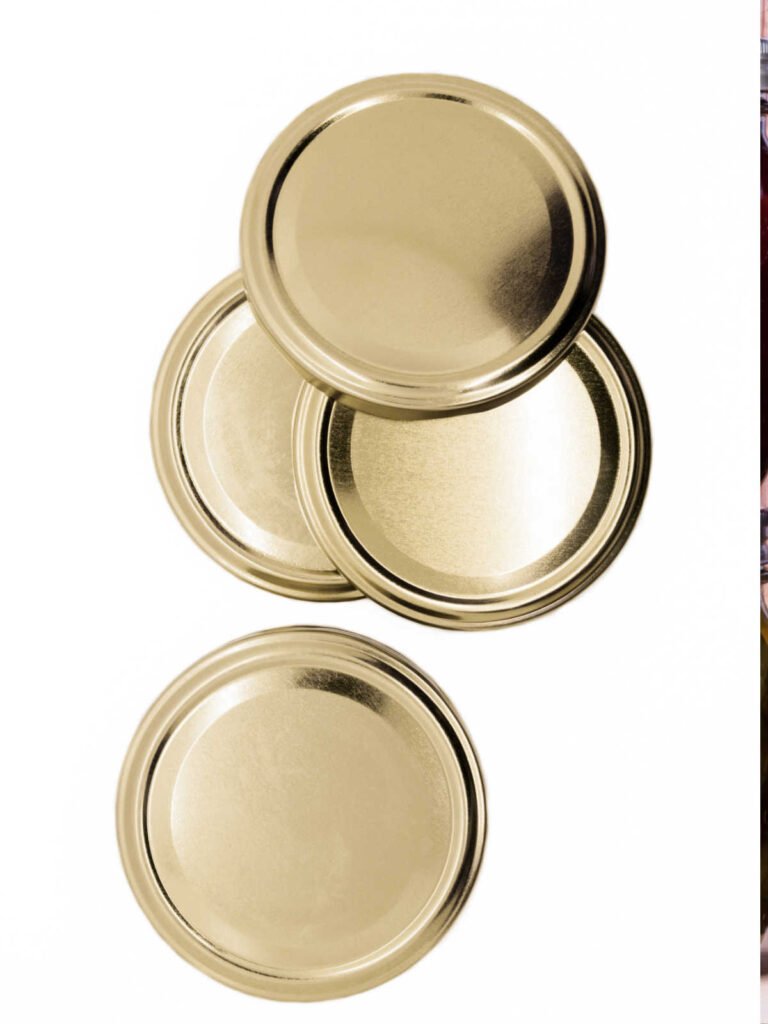
You’ll want to make sure you have some canning jar lids as well. They are special lids with a seal on them.
Most canning jar lids are one-time use and they come in regular and wide mouth. It’s pretty self-explanatory which lid goes where, but you want to make sure if you are using wide mouth jars to use the wide mouth lids. If you are using regular mouthed jars, to use the regular mouth lids.
If you are buying your jars new this year, you most likely don’t need to worry about the lids, since the packs come with lids and bands. If you are using jars used previously, hand me downs, or purchased used, then make sure you buy enough lids for all your jars.
You may need to buy new bands as well if you don’t have enough. Jar bands are something that can be reused, so you shouldn’t have to buy them very often.
There are some reusable canning jar lids, such as Tattler. These are not necessary to use, but they are there if you prefer to use the reusable ones.
Water Bath Canner
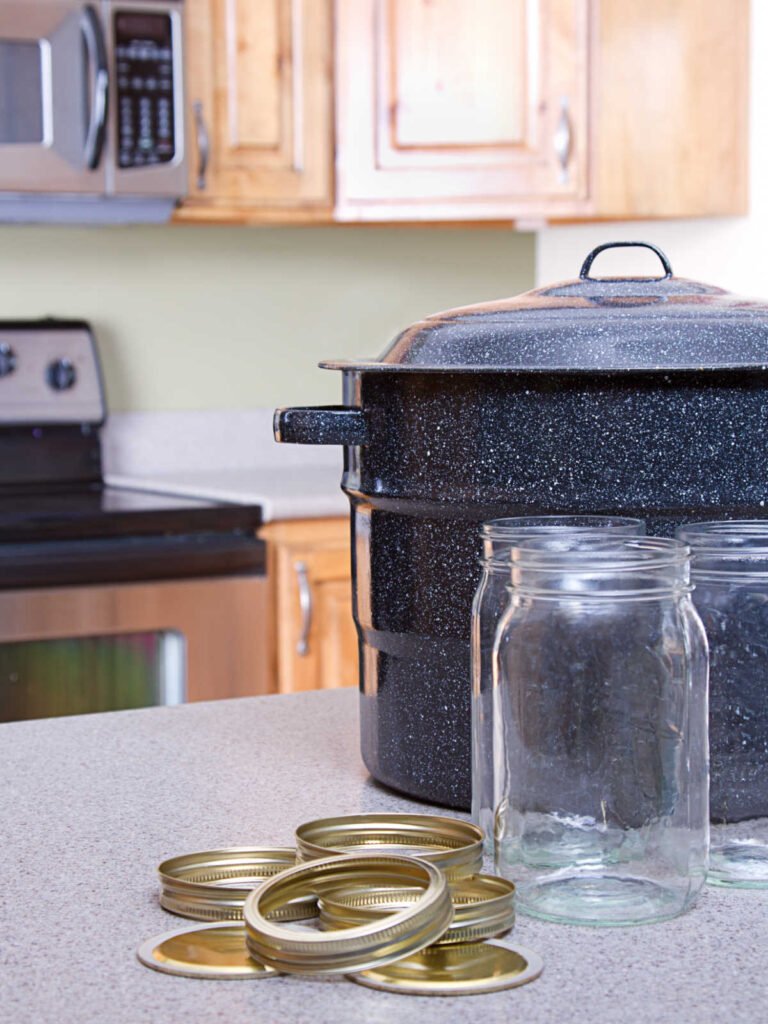
There are a variety of ways to process your cans after the food is ready to be preserved.
The most common canning method is boiling the cans in a water bath canner, especially if you plan to can jellies, jams, salsas, and pickles.
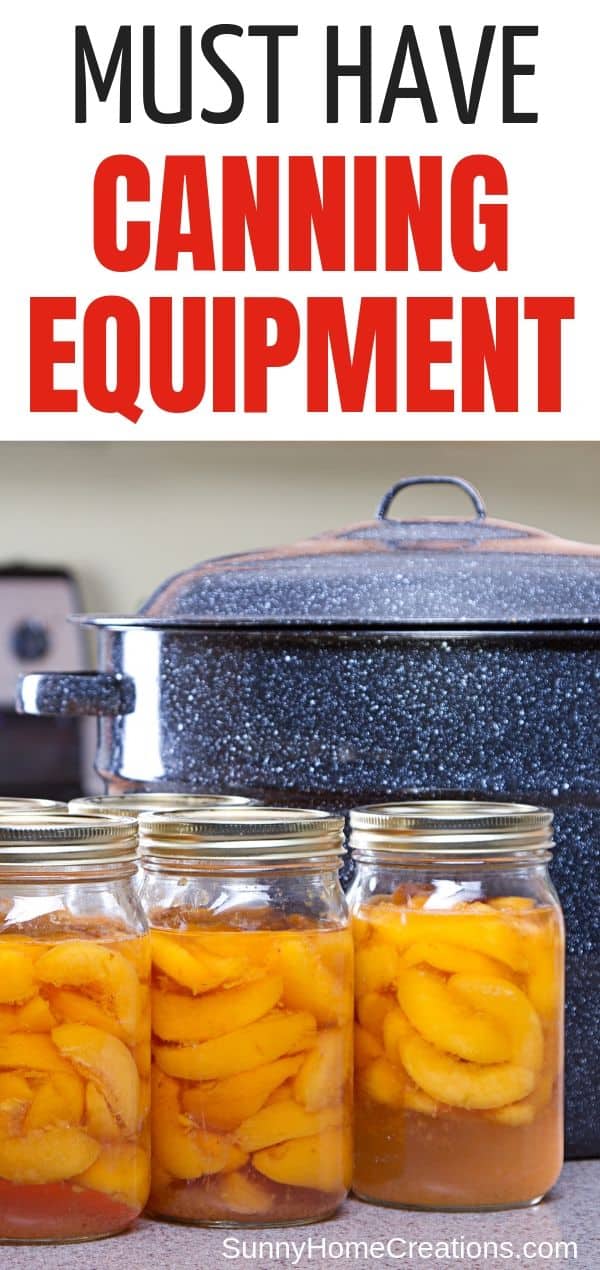
A water bath canner is basically a large pot that has a jar rack that rests inside.
The jar rack holds your jars steady as they boil, which helps prevent breakage while you seal the jars.
A large stock pot will also work for processing small batches of jars. If using a stock pot, be sure to keep the jars from resting on the bottom of the pot to avoid breaking the jars as they boil.
Pressure Canner
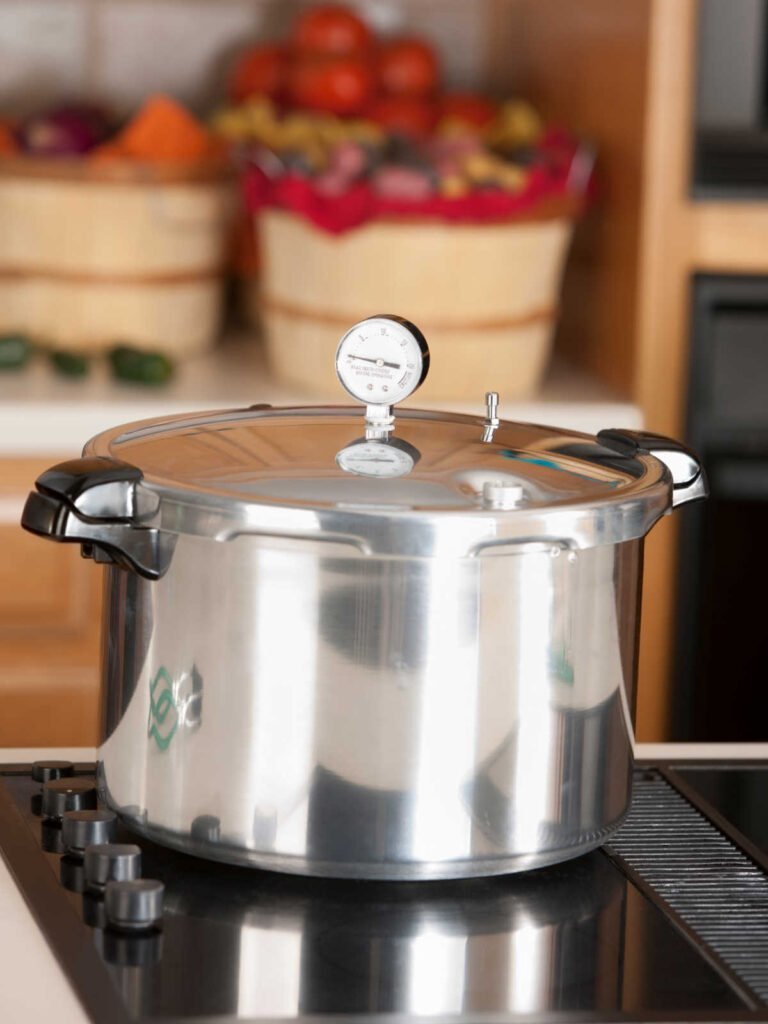
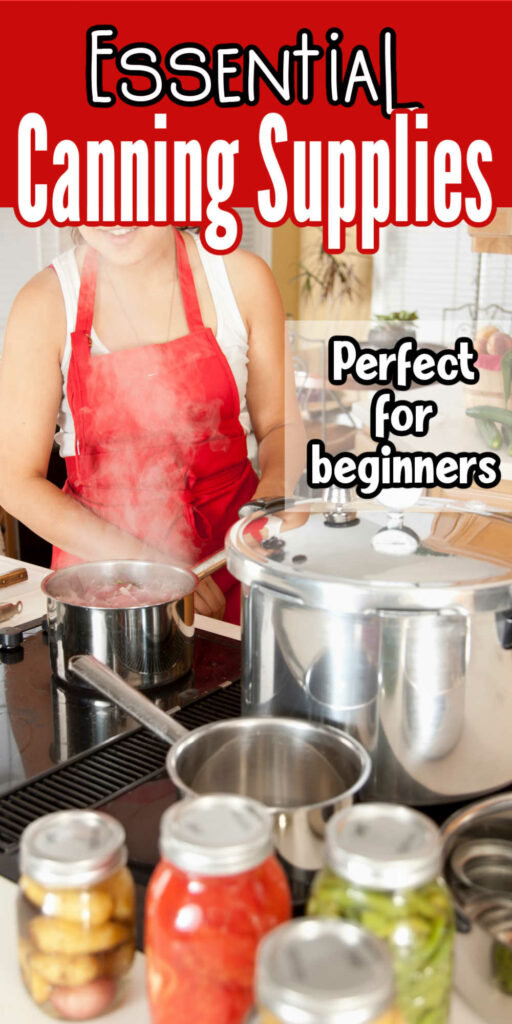
A pressure canner is another popular canning method and is great for canning fruits and vegetables.
Pressure canners typically have a dial gauge on top to indicate the pressure inside the pot. This type of canner usually comes deep enough to hold one layer of quart size jars or two layers of pint-size jars.
A pressure canner also comes with a canning rack to keep your jars from breaking as they’re processed.
Pressure canners are expensive though. I was lucky enough to find one at Goodwill. Before using a used one, make sure to bring it into your county’s extension office so they can check the pressure for you. Call ahead to make sure they offer this service.
Canning Tools
Now that we’ve gone over the big canning equipment, let’s talk about the smaller canning tools.
These canning tools make it so much easier and quicker to can and I consider them pretty much all essential.
My first year canning, I tried getting by without a lid lifter and it was laughable trying to get the lids out of boiling water.
Canning Jar Lifter
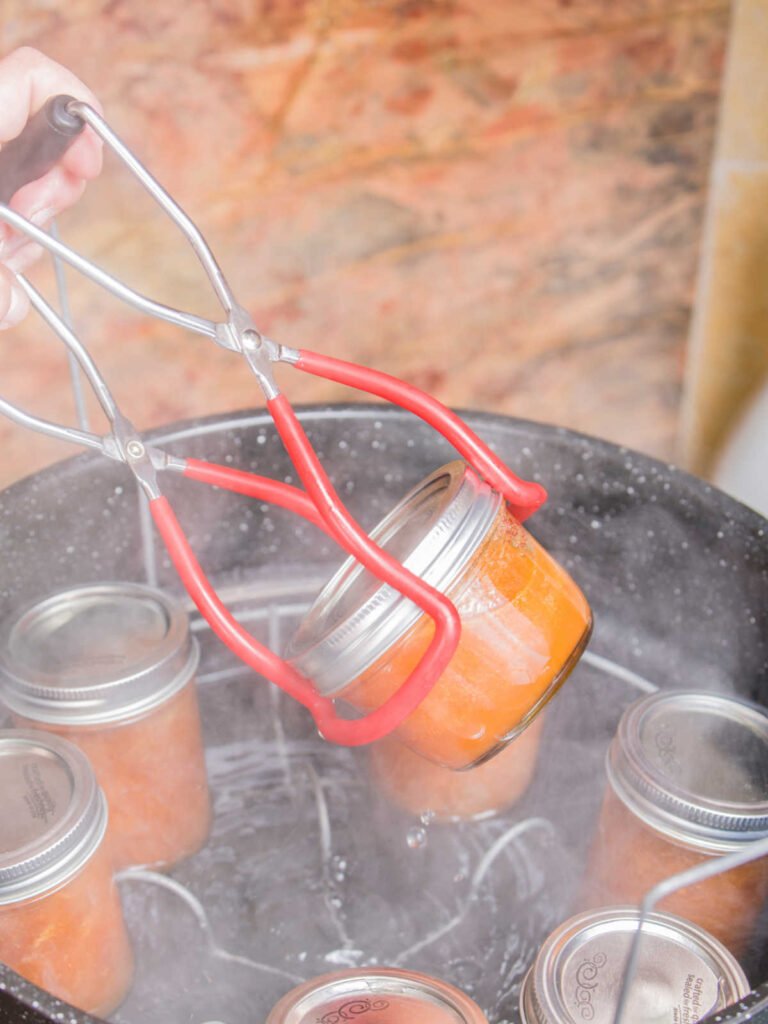
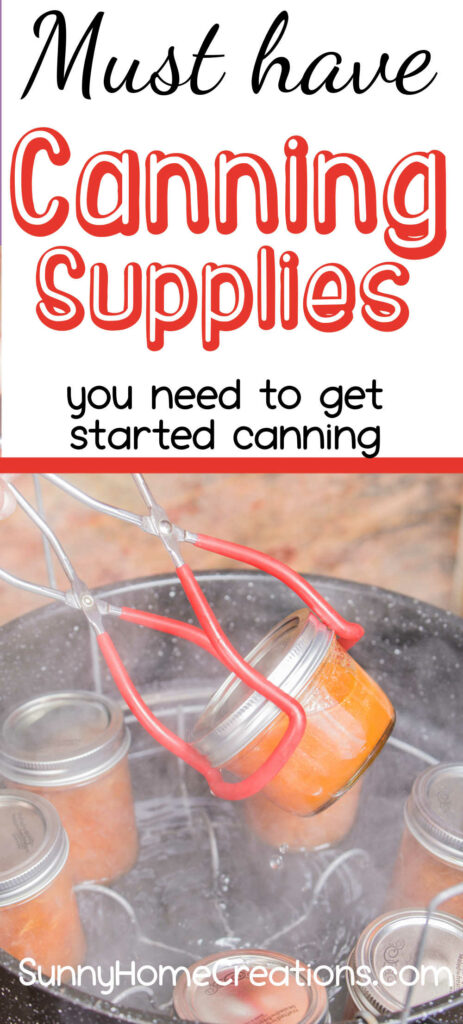
A canning jar lifter looks like a large pair of tongs that allow you to grip the top of a jar and remove it from the canner after the processing is finished.
The water in the canner will be hot and same with the jars! These are so helpful for removing the jars without getting burnt.
Magnetic Lid Lifter
With a magnetic lid lifter, you’ll be able to easily remove the hot metal lids from simmering water after you sanitize them and place them directly on your jars.
In addition to keeping your fingers safe as you place the lids on the jars, a lid lifter also helps prevent contamination while you transfer the lids from the sterile water to the jars.
You can use the canning lid lifter to remove air bubbles from your jars as well. Or use a bubble popper remover or even a butter knife.
Canning Funnel
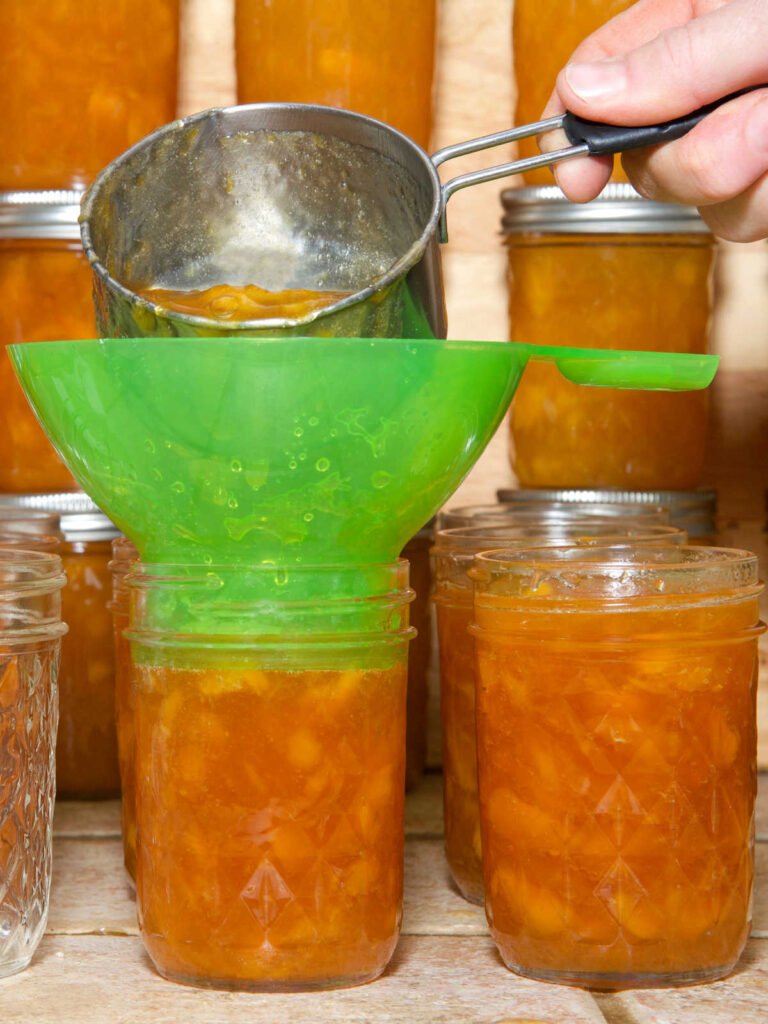
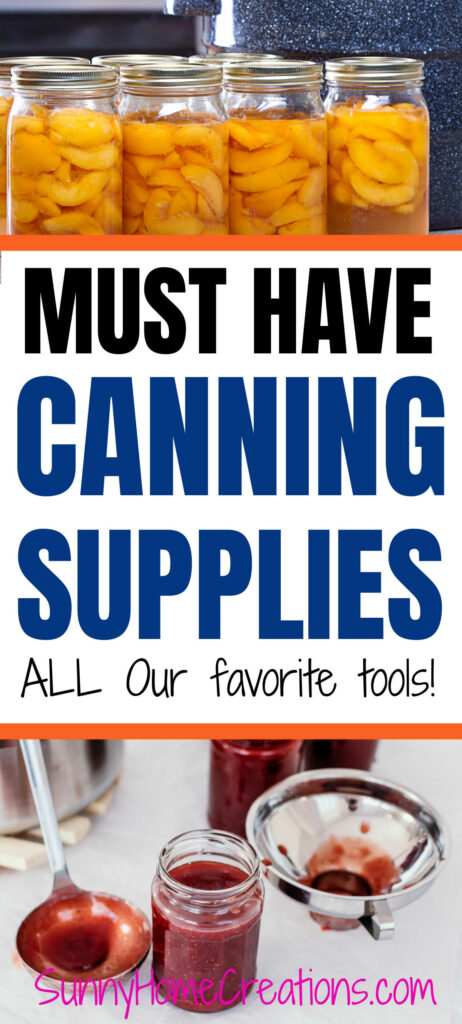
To keep from making a mess as you pour the contents of your jars inside, you’ll need a canning funnel.
A canning funnel is different than a traditional funnel because it is designed to easily fit inside a canning jar but has an opening wide enough to allow a variety of ingredients to pour through.
I love using this one, because it also includes the info on how much “head space” is left in the jar at each line.
Ladle
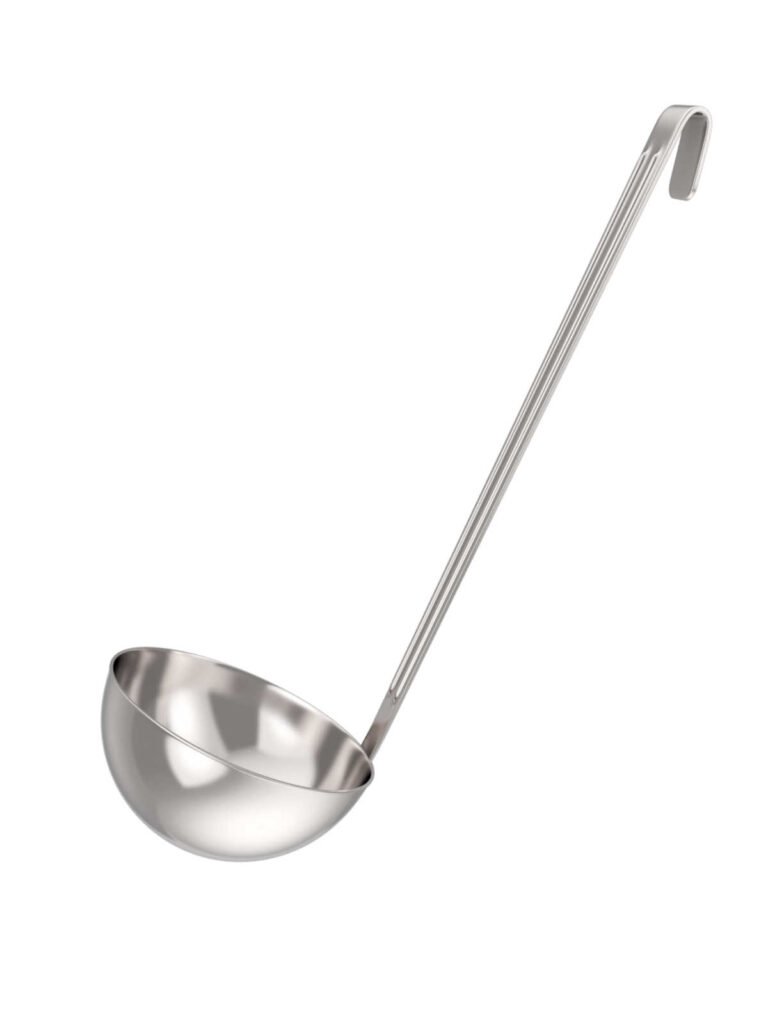
If you don’t already have a ladle, I would suggest picking one up for canning.
Ladles make it so much easier to transfer food and liquids from pans to the jars.
Pectin
If you plan on canning jams or jellies, you’ll need to have some pectin on hand.
I personally use the low sugar Sure-Jell pectin for my jams and jellies and we love it! The jams turn out tasting so incredibly fresh. Even though, this is low sugar pectin, there is still a lot of sugar used in the recipes.
Pectin is typically derived from citrus peels and is used to transform your fruit mixture into a gel.
Food Mill
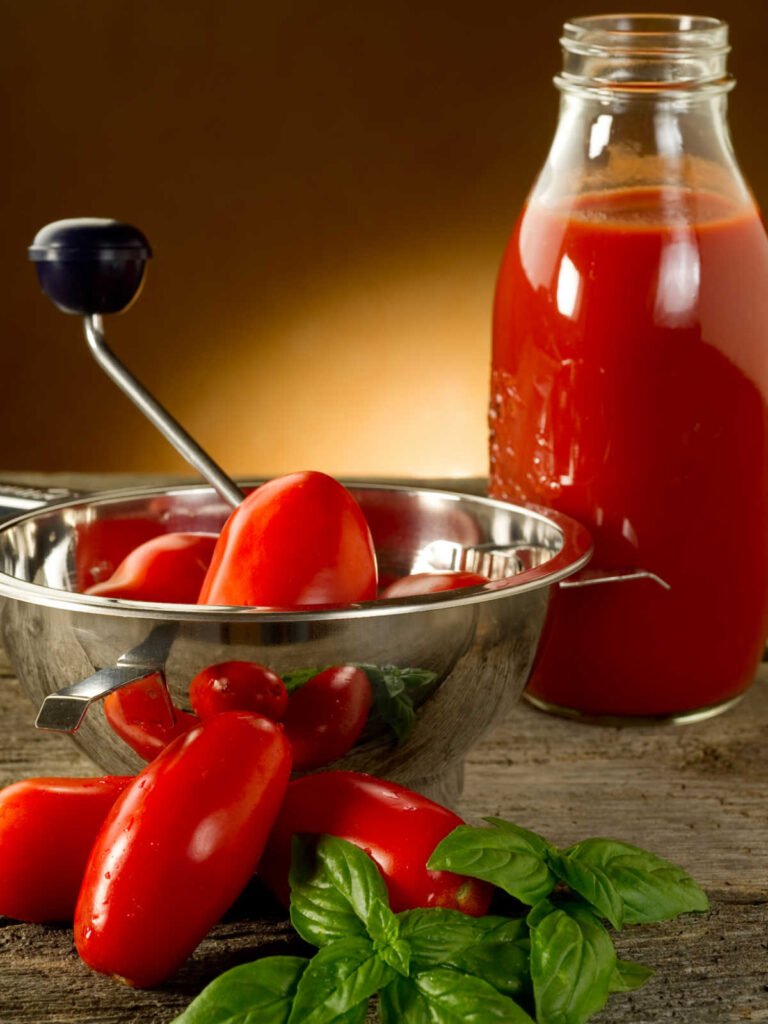
If you plan on making sauces (if you’ve never tried pear sauce, it’s delicious!), salsas or jellies, a food mill is great to have on hand.
The rotary handle on top of the food mill easily mashes and grinds cooked food into a smooth sauce, making it a great addition to your canning supplies.
Canning Kit or Canning Set
If you are starting out, sometimes it’s cheaper, not to mention easier to buy everything in a canning set.
You can find this canning set that includes the water bath canner, a rack, funnel, jar lifter, and a few other items.
You could also buy the canner and then pick up a canning kit with just the accessories.
If you found this post helpful, I’d love for you to “Pin It’!
Other posts you might like:
What to plant for a canning garden
A Guide to Pickling Veggies
Awesome Ideas for Preserving Strawberries

Leave a Reply